屋上・外壁のメンテナンス工事を開始しました(7)
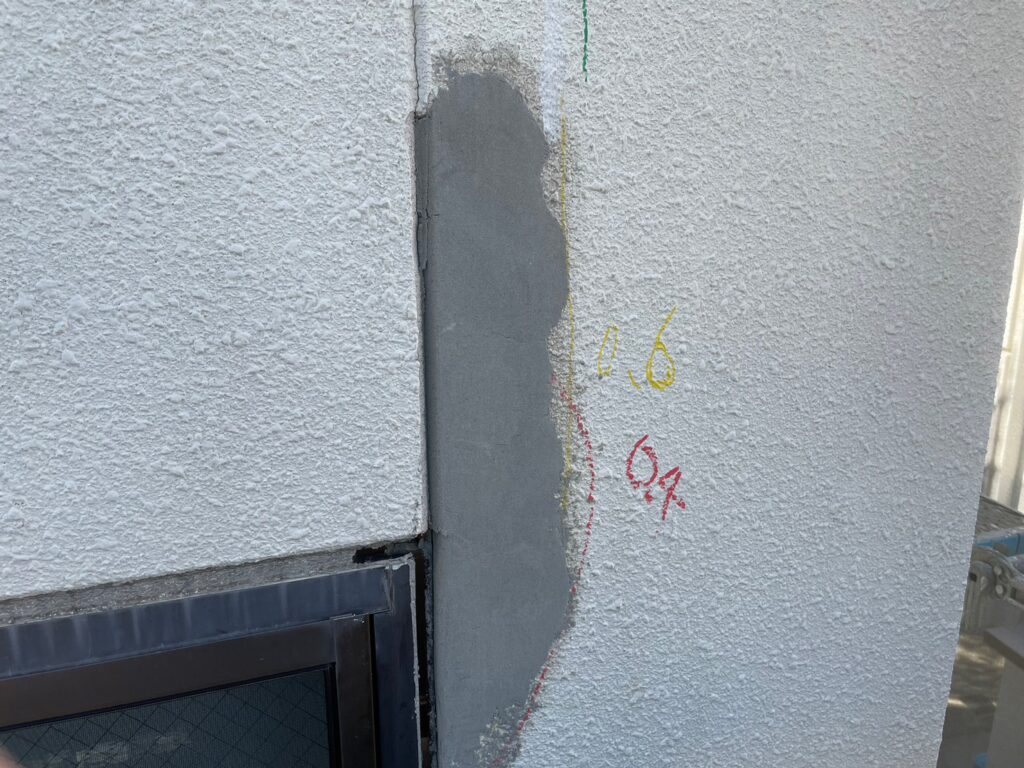
クラックや欠損などの補修が大体終了し、次の工程に移っています。
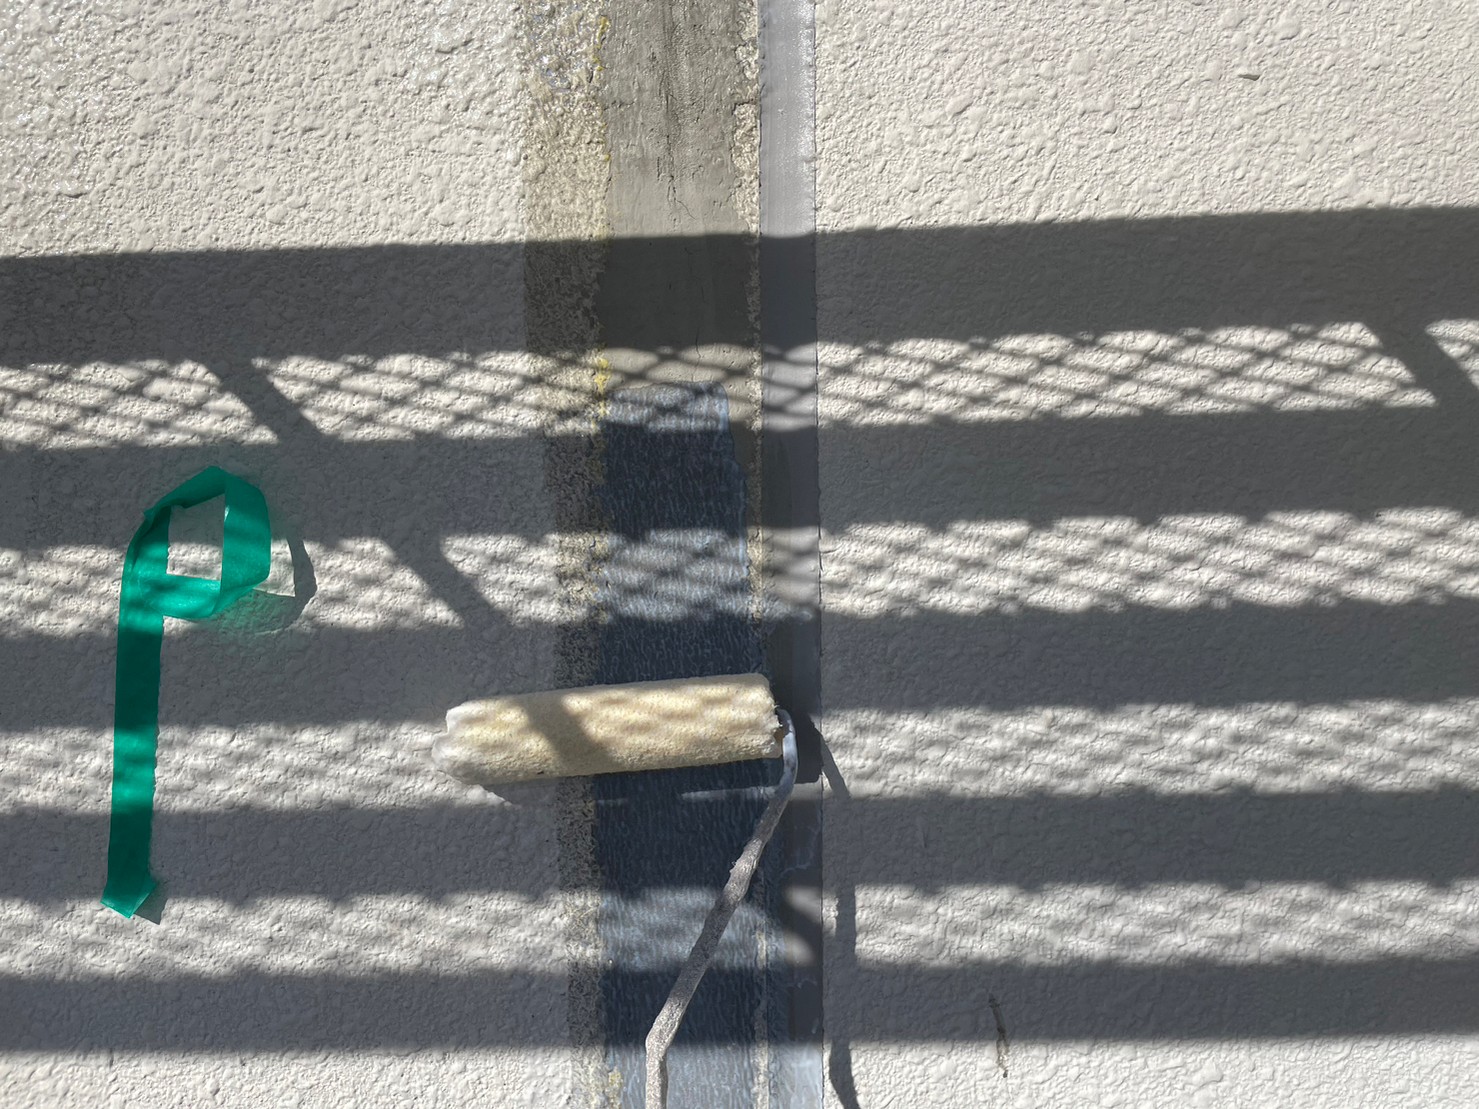
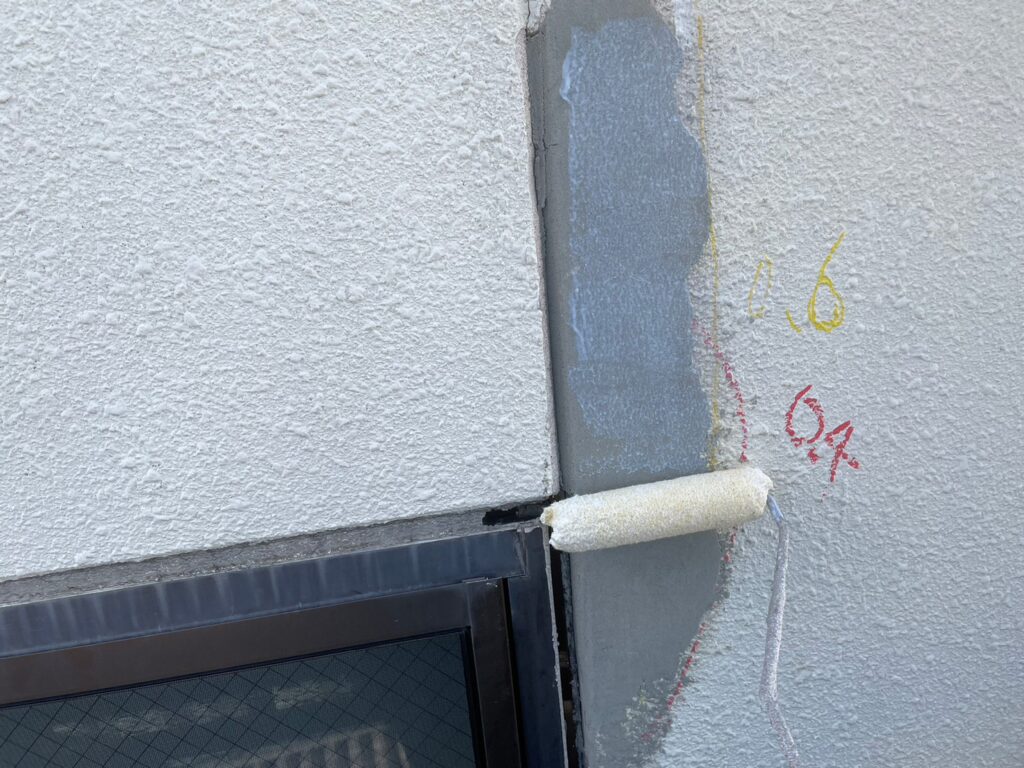
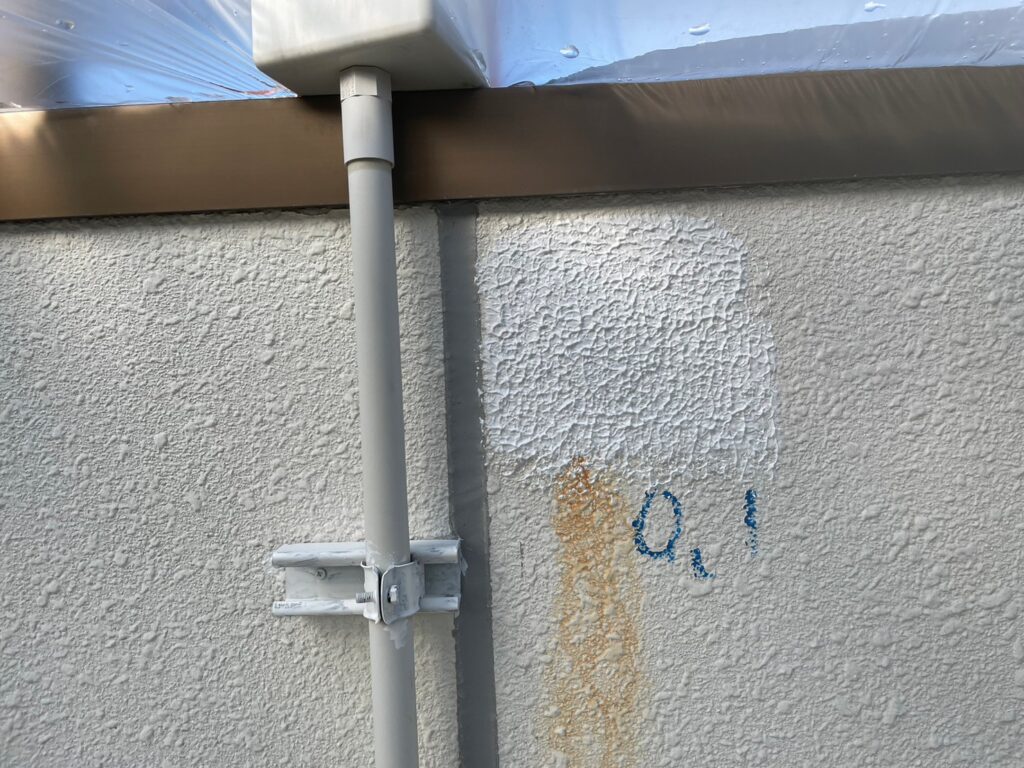
補修下部分に塗装が乗りやすいようにプライマーをかけていきます。
この下地処理をするだけで塗装の乗りが変わっていきます。
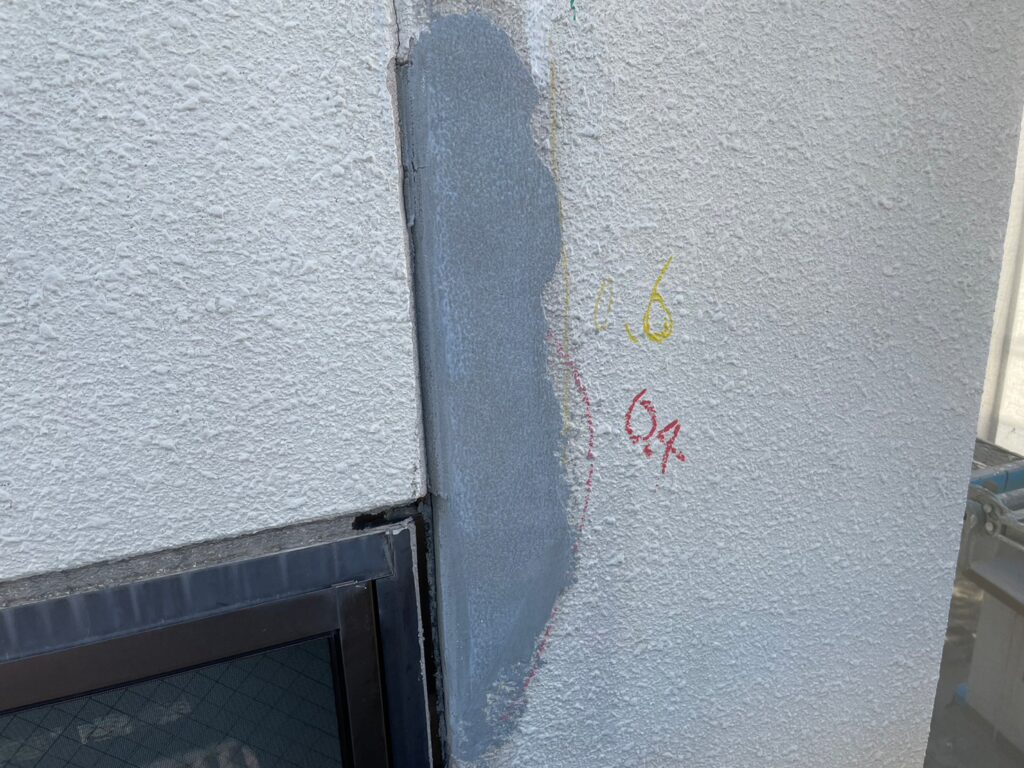
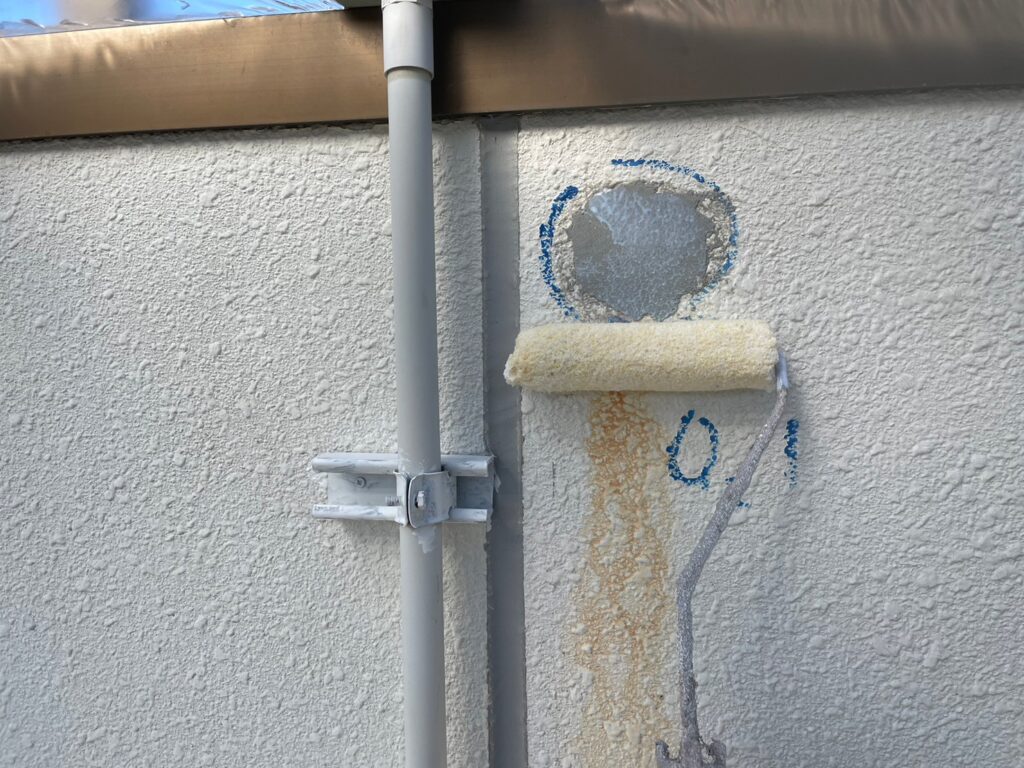
補修した所はパターンが付いていないので、下地処理の後にパターン付けしていきます。
粗目のローラーでまわりのパターンと合わせていきます。

外壁の塗装というと、ローラーで塗っていくだけだと思われがちですが、工程が結構あるんです。
外壁部分の欠損や、ジョイント部分のシール、窓廻りのシール処理など。
次回はシール補修を紹介したいと思います。